
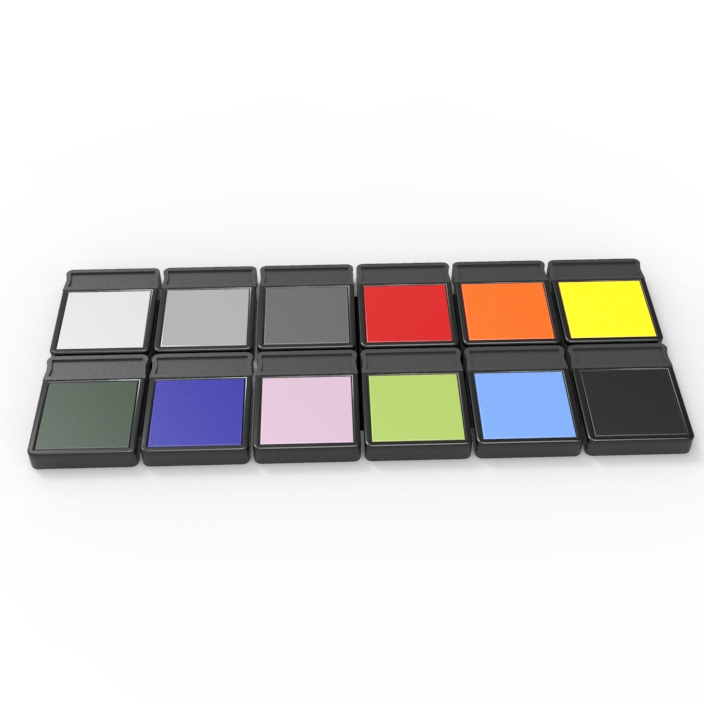
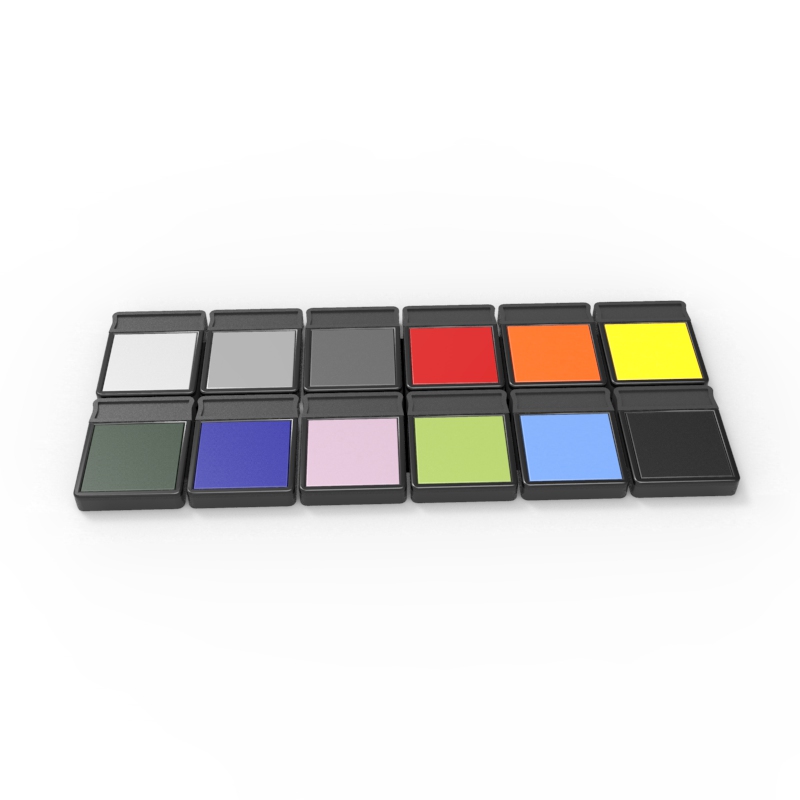
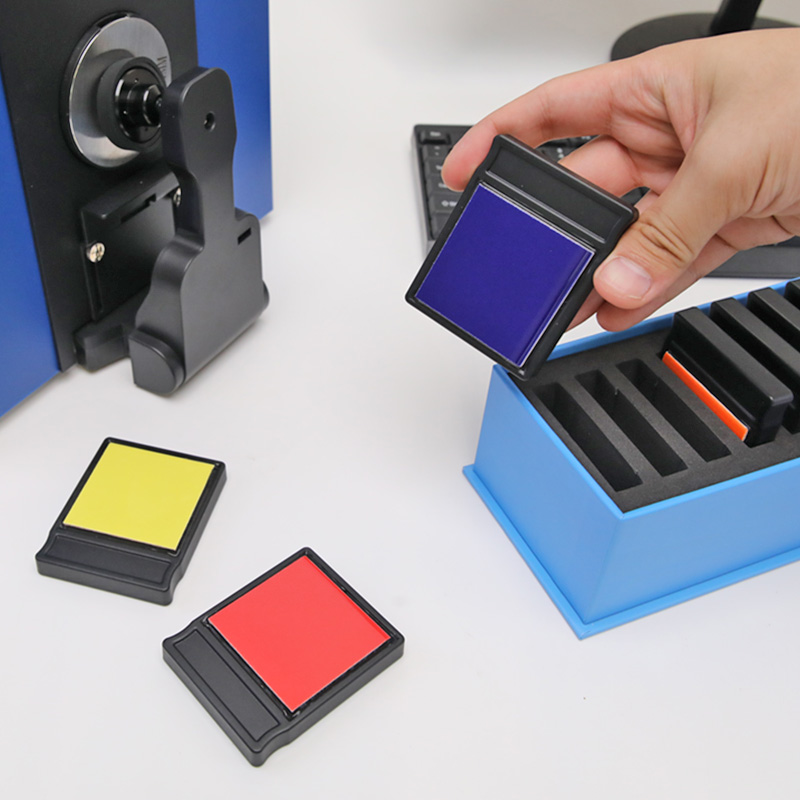
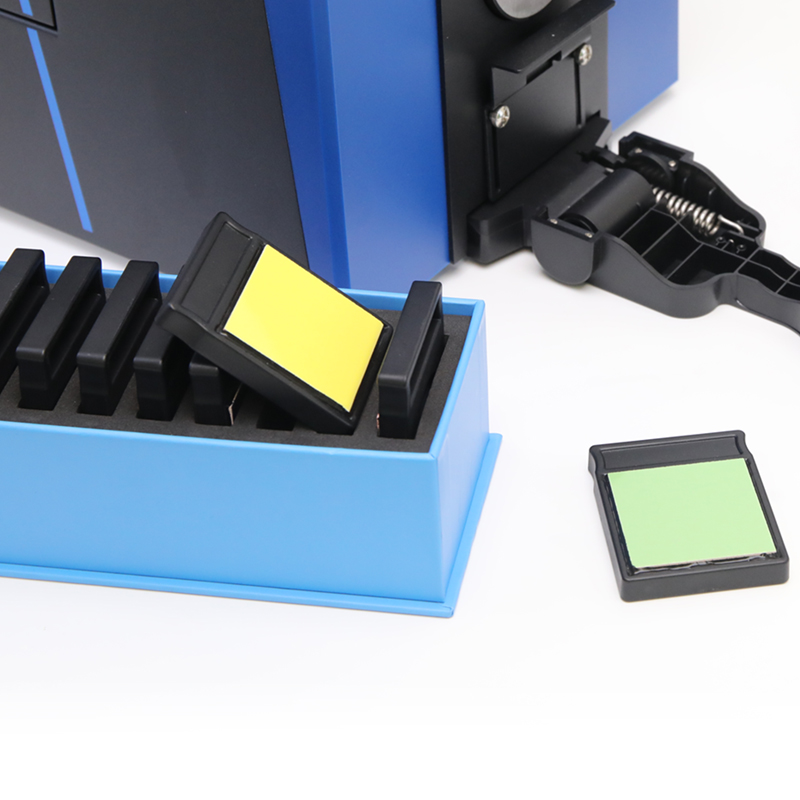
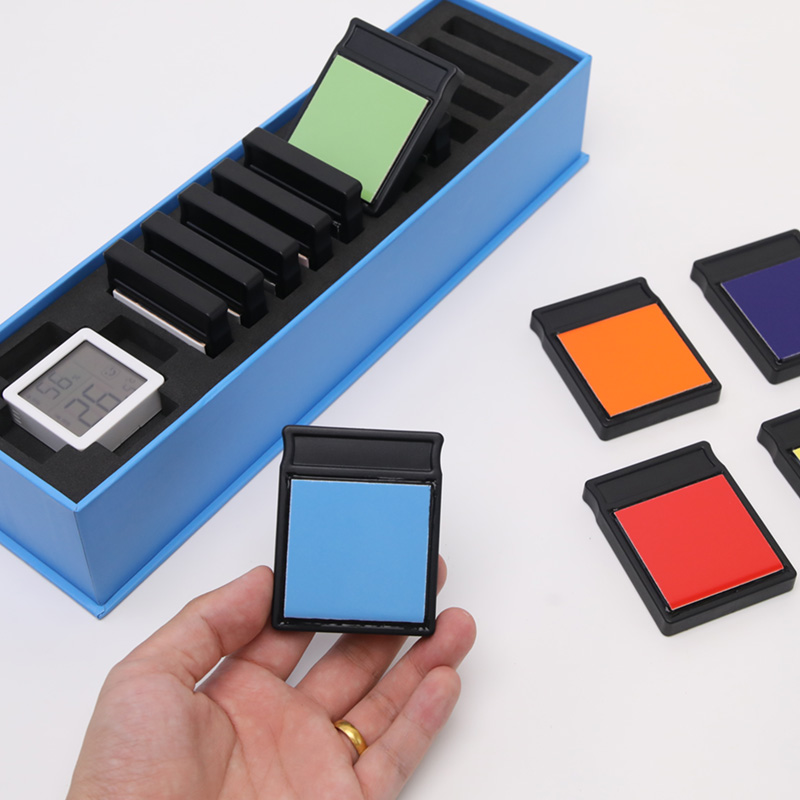
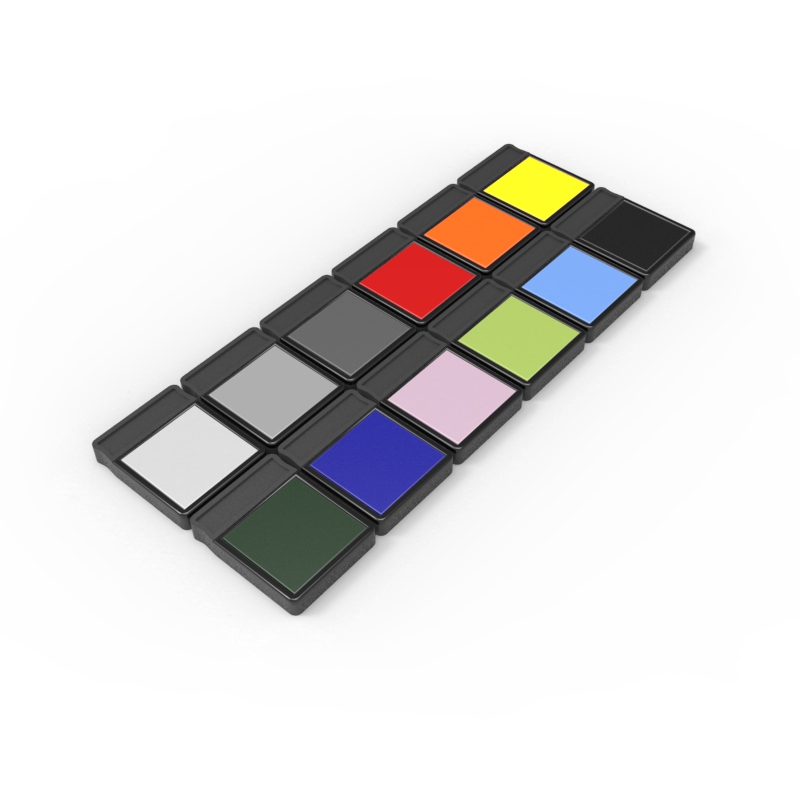
Featuring 12 meticulously selected standard colors most frequently used in industrial applications, the set includes 4 grayscale tiles (White, Light Gray, Medium Gray, and Black) and 8 high-saturation basic colors (Vivid Red, Vivid Orange, Vivid Yellow, Dark Green, Dark Blue, Pale Pink, Light Green, and Light Blue). This enables comprehensive verification of instrument measurement accuracy across various lightness, hue, and saturation ranges. Conducting monthly standardized equipment performance checks allows for full troubleshooting of instrument accuracy drifts, ensuring your colorimeters and spectrophotometers remain in high-precision operational condition and providing a stable, dependable color measurement baseline throughout the entire production process.
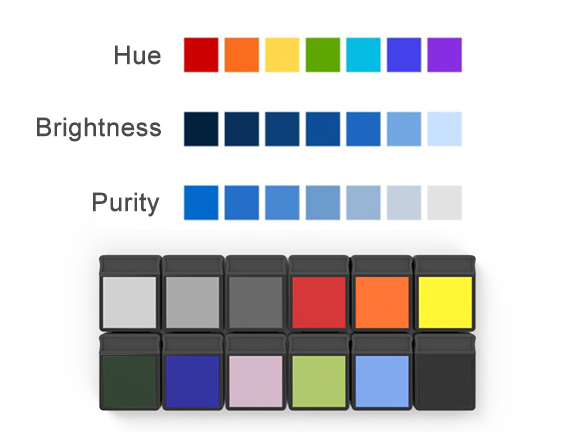
Each individual color tile features standardized dimensions of 58×73 mm with a thickness of 12 mm, and an effective color area of 45×45 mm, making it compatible with the measurement apertures of most colorimeters and spectrophotometers on the market. Constructed with a rigid shell and a highly wear-resistant color surface, it withstands high-frequency daily use in factory environments while maintaining long-term color stability.
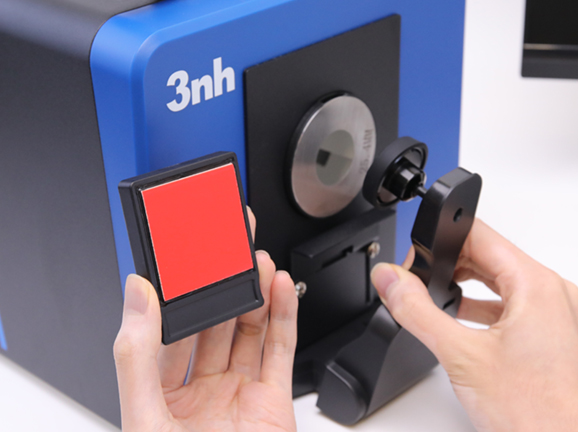
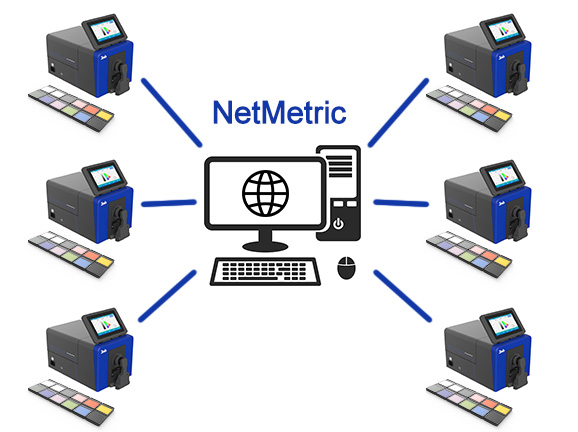
The set can function independently as standalone standard color tiles to meet daily rapid calibration needs. Alternatively, it can be paired with optional NetMetric network correction software to enhance multi-instrument accuracy and reduce inter-instrument agreement errors. It effectively corrects cumulative errors caused by long-term instrument usage and systematically calibrates instrument fleets across internal enterprise facilities and upstream/downstream supply chains. This significantly reduces inter-instrument measurement discrepancies, enabling unified and seamless color data exchange between local factories and global partners.
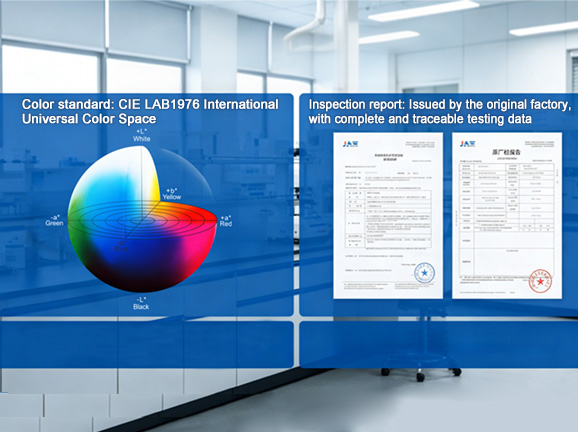
All color tiles are calibrated in accordance with the CIELAB 1976 international universal color space standard and come supplied with original factory inspection reports containing complete, traceable test data. As physical standards for traceability, they facilitate periodic checks on color measurement equipment stability, effectively correcting measurement data drift caused by optical component aging, mechanical wear, and ambient temperature/humidity fluctuations. This helps proactively predict instrument maintenance needs and fundamentally eliminates batch color variation incidents caused by instrument inaccuracy.
Category | Parameters / Description |
Colors | 12 colors: White, Light Gray, Medium Gray, Vivid Red, Vivid Orange, Vivid Yellow, Dark Green, Dark Blue, Pale Pink, Light Green, Light Blue, Black |
Single Tile Outer Dimensions | 58 x 73 mm, Thickness: 12 mm |
Colors | 12 colors: White, Light Gray, Medium Gray, Vivid Red, Vivid Orange, Vivid Yellow, Dark Green, Dark Blue, Pale Pink, Light Green, Light Blue, Black |
Finished Package Dimensions (Color Box) | 335 x 95 x 92mm |
Standard Accessories | 12 Standard Color Tiles, Digital Thermo-Hygrometer (±1℃ accuracy), Standard Material Inspection Report (Factory Certified) |
Default Report Content | Colors |
Usage | Can be used independently as standard color tiles, or paired with NetMetric Network Correction Software (optional) to calibrate and optimize instrument accuracy. |
1. When I received NH310/NH300 colorimeter and perform measurement, why the measured data is abnormal?
After receiving NH310/NH300, you have to perform white and black calibration manually when first starting.
2. In which condition, manual white and black calibration and auto calibration are required for NH310?
a. It’s needed to perform manual calibration for NH310 when first starting.
b. In the subsequent starting, NH310 will perform auto calibration at startup. No need to perform manual calibration.
c. Suggestion: it’s best to perform manual calibration once a week or when NH310 measured data is not accurate.
3. In which condition, manual white and black calibration for NH300 is required?
a. It’s needed to perform manual calibration for NH300 when first starting.
b. In the subsequent starting, no need to perform manual calibration.
c. Suggestion: it’s best to perform manual calibration once a week or when NH300 measured data is not accurate.
4. How to replace NH310 measuring aperture?
There are three measuring apertures for NH310: Φ8mm (standard accessory), Φ4mm (standard accessory), extended Φ8mm (optional accessory)
a. Turning on
b. Removing measuring aperture, install the needed measuring aperture.
c. Select “Settings-Aperture Setting” in main menu to select corresponding measuring aperture.
d. After selecting aperture, the instrument will display “White and Black Calibration” interface. White and black calibration must be performed.
e. Replace completed.
5. CQCS3 (Color Quality Control System) Installation
a. Before installation, please Copy CQCS3 folder to your computer and don’t remove any files in CQCS3 folder.
b. Double-click the setup.exe to install CQCS3 software.
c. Then double-click Install.bat under the CQCS3\USB_Driver file to install the driver.
d. Detailed installation information please read the "Installing Software" under CQCS3 User manual.doc.
6. How to check communication port?
a. Connect colorimeter to the PC with USB cable.
b. Turn on the colorimeter to enter main menu. Select “Comm” and press “Enter” key to start communication.
c. Right click on “My Computer” on the desktop. Click “Manage” -> “Device Manager” -> “Ports”, you can see similar display as “SCI USB2Serial (COM6)”.
d. Click “Settings->Communication Parameters” in CQCS3 software interface. Select the corresponding port in “Serial Port”.
7. After completing CQCS3 installation, how to solve the problem if it display “! USB Device” or “! SCI USB2Serial (COM6)” when checking the communication port?
a. Right click “! USB Device” or “! SCI USB2Serial (COM6)”, “Update Driver” -> “Install from a list or specific location (Advanced)” -> “Next” ->“Include this location in the search” -> “Browse”, specify USB driver file path “CQCS3\USB_Driver”, click “Next”. Then it will install successfully.
b.Detailed installation information please refers to “2.2 Installing USB Driver” in Color Quality Management System User Manual.doc.
8. Notes for First Using CQCS3 Software
a. Users must specify Standard File Name, Sample File Name and Sample Database File Name when first use.
b.Standard File is use to store standard measurement data. Sample File is used to store sample measurement data. Sample Database File is used to store the measured data exported from sample records.
9. How to solve the problem when “Connection Timeout” occurred?
a. When the colorimeter is disconnected to the PC, “Connection Timeout” will occur. At the moment, you have to check whether the USB cable is well connected the colorimeter and the PC. Then you can re-plug the USB to try out.
b. After ensuring the colorimeter is connected to the PC with USB cable, turn on the colorimeter and enter the main menu. Select “Comm” and press “Enter” key to start communication.
c. Turn off CQCS3 software, and reopen it.
10. How to solve the problem when the interface display "USB Disconnect"
a. Check whether the USB cable is connected. If not, please connect it. Check whether the connection is effective. You can re-plug the USB cable to test.
b. If the USB cable is connected well but the interface still displays "USB Disconnect", please re-start the colorimeter and enter "Menu" -"Comm"to start the communication.
c. Change the USB cable or change the USB port in you PC.
11. How to solve the problem when the colorimeter cannot be turned on in the condition of battery-powered?
a. If this phenomenon occurred, it means the battery power is not enough. You need to charge the battery.
b. When charge the battery, please insert the battery to the instrument, and plug in the adapter to charge the battery. After 5 minutes, the instrument can be turned on.
c. If the instrument still cannot be turned on after charging 5 minutes, you can pull out the adapter and re-plug in to check it. Or repeat this operation.
d. If the instrument still cannot be turned on after charging 5 minutes, you can turn off the colorimeter and turn on it again to check it. Or repeat this operation.
e. If you have tried all the methods above but the colorimeter still cannot be turned on, please change the battery.
