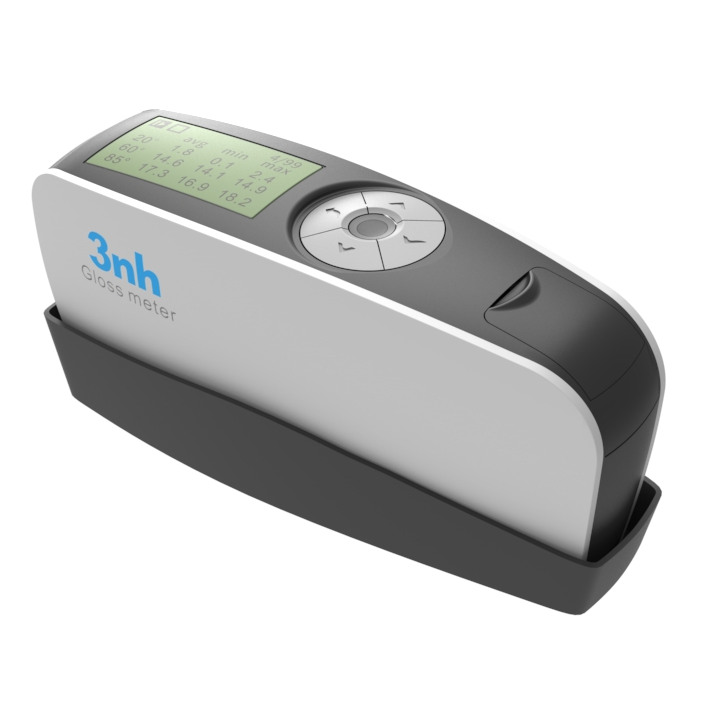
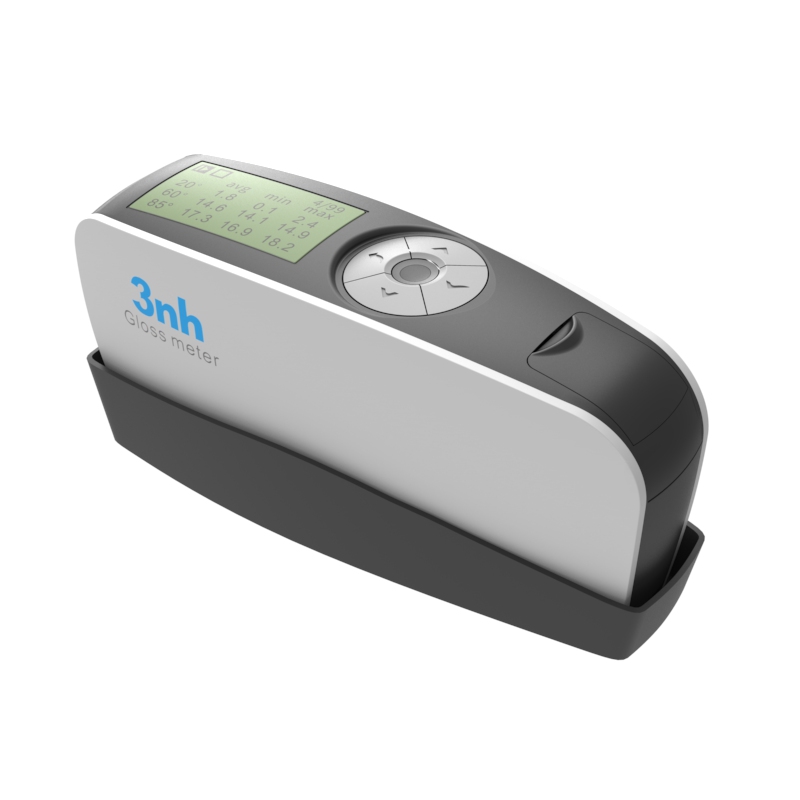
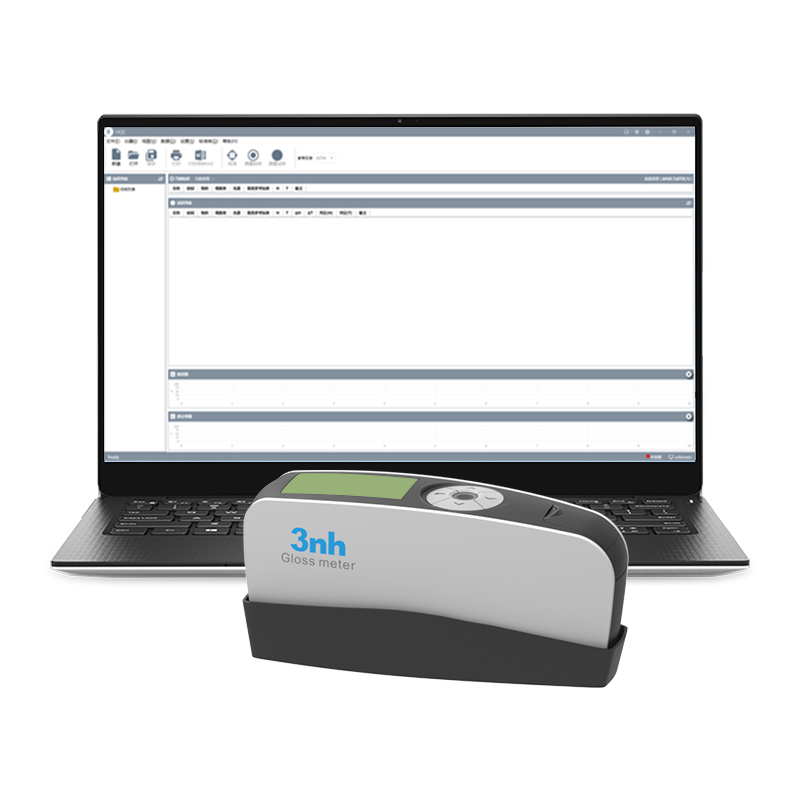
3NH KS268 Portable Three-Angle Glossmeter integrates three measurement angles of 20°, 60°, and 85°, suitable for high-gloss, matte, and other gloss levels of materials, saving users the cost of purchasing multiple devices. Equipped with a high-precision optical system, it features a resolution of 0.1 GU and ultra-high repeatability of ±0.2 GU in the 0-100 GU range and ±0.2% GU in the 100-2000 GU range, accurately capturing gloss differences. Compliant with the JJG 696-2015 metrological standard, the results are authoritative and traceable. Widely used in industries such as paints and inks, plastics and electronics, ceramics, and hardware, the instrument delivers fast and stable measurements, helping enterprises adjust processes, reduce defects, and efficiently control quality for standardized production.
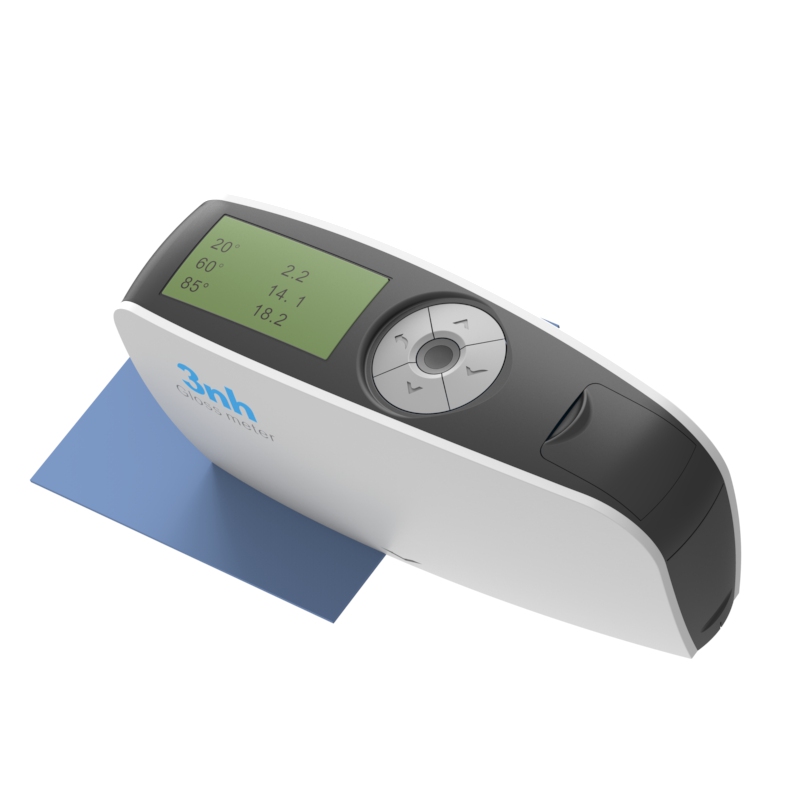
The KS268 Glossmeter is equipped with 20°, 60°, and 85° measurement angles to suit different gloss surfaces:
20°: For high-gloss surfaces (e.g., high-gloss automotive paint, piano lacquer, electroplated parts, mirror-finish ceramics)
60°: Universal angle, suitable for most materials (coatings, plastics, paper, etc.)
85°: For low-gloss or matte surfaces (e.g., frosted plastics, matte paint, marble)
Saves users the need to purchase multiple devices one instrument meets the full-range inspection requirements from high-gloss to matte, reducing procurement costs and management complexity.

Each angle responds in just 0.5 seconds, greatly improving efficiency for production line sampling or laboratory testing.
Repeatability reaches ±0.2 GU (0-100 GU) or ±0.2% (100-2000 GU), ensuring highly consistent data.
Saves users time by reducing waiting time and accelerating shipment schedules, while avoiding rework or misjudgment caused by data fluctuations to ensure stable quality.

Offers storage for 35,000 records with four measurement modes: Basic Mode, Statistical Mode, Continuous Mode, and Quality Control Mode, flexibly meeting different needs such as incoming inspection, process control, and outgoing reporting.
Saves users from frequent data export, enabling batch analysis on-site; quality control personnel can directly generate inspection reports, eliminating manual recording and post-processing time.

Built-in automatic calibration verification function checks the instrument upon startup, ensuring accurate status before each measurement.
Complies with the JJG 696-2015 standard for working glossmeters, providing authoritative and reliable data.
Reduces the risk of customer complaints and returns due to batch quality issues; the instrument automatically calibrates upon startup without manual operation, avoiding human error and significantly improving inspection efficiency.

Powered by one AA battery, supporting over 10,000 measurements; can also be powered directly via USB port.
Automatic shutdown (adjustable from 30 to 120 seconds) for intelligent power saving.
Saves users the trouble of frequent battery replacement, making long-duration outdoor or workshop operations stress-free. The universal USB interface eliminates the need for a dedicated charger, reducing accessory costs.

Comes with GQC6 PC software, supporting data import, trend analysis, report printing, and color management.
Optional Bluetooth 5.0 adapter or micro printer enables wireless data transmission or on-the-spot report printing.
Saves users time by generating compliant reports with one click to meet customer audit requirements, reduces manual entry errors, and enhances the digitalization level of quality management.

| Applicable Industries | The KS268 Glossmeter can be used for gloss measurement and gloss data transfer in industries such as paints and inks, coatings, paper printing, plastics and electronics, furniture, ceramics, electroplating, hardware, and marble. Every gloss measurement becomes a reliable testament to quality. |
| KS Glossmeter Technical Specifications | |
| Product Model | KS268 Glossmeter |
| Measurement Angle | 20°/60°/85° |
| Measurement Spot (mm) | 20°:9X10 60°:9X15 85°:5X38 |
| Measurement Range | 20°: 0~2000GU 60°: 0~1000GU 85°: 0~160GU |
| Resolution | 0.1GU |
| Features | Suitable for gloss measurement and gloss data transfer in industries such as paints, inks, coatings, paper printing, plastics and electronics, furniture, ceramics, electroplating, hardware, marble, etc. |
| Measurement Modes | Basic mode, statistical mode, continuous mode, quality control mode |
| Measurement Time | 0.5 seconds per angle |
| Repeatability | 0~100GU:±0.2GU ; 100~2000GU:±0.2%GU |
| Accuracy | Meets the requirements of JJG 696 for working glossmeters |
| Auto Shutdown Time | 30~120 seconds, adjustable |
| Long-Term Calibration | Features automatic verification of calibration standard plate function / manual calibration |
| Language | Simplified Chinese, English, Traditional Chinese |
| Data Storage | 35,000 records (15,000 in basic mode and continuous mode, 10,000 in quality control mode, 10,000 in statistical mode) |
| Display | 2.3-inch monochrome display |
| Dimensions | 160 X 52 X 84mm |
| Weight | Approx. 300 g (including calibration case and battery) |
| Power Supply | Powered by 1 AA battery (alkaline or Ni-MH rechargeable), capable of over 10,000 measurements; or via USB port |
| Interface | USB |
| PC Software | GQC6 quality management software, inspection report printing, extended functionality |
| Operating Temperature Range | 0~40℃(32~104°F) |
| Storage Temperature Range | -20~50℃(-4~122°F) |
| Humidity | Less than 85% RH, non-condensing |
| Standard Accessories | USB cable, instruction manual, GQC6 quality management software (available for download from official website or provided upon request), calibration plate |
| Optional Accessories | Micro printer, Bluetooth 5.0 adapter |
| Note | Technical parameters are for reference only, subject to the actual product sold. |
1. When I received NH310/NH300 colorimeter and perform measurement, why the measured data is abnormal?
After receiving NH310/NH300, you have to perform white and black calibration manually when first starting.
2. In which condition, manual white and black calibration and auto calibration are required for NH310?
a. It’s needed to perform manual calibration for NH310 when first starting.
b. In the subsequent starting, NH310 will perform auto calibration at startup. No need to perform manual calibration.
c. Suggestion: it’s best to perform manual calibration once a week or when NH310 measured data is not accurate.
3. In which condition, manual white and black calibration for NH300 is required?
a. It’s needed to perform manual calibration for NH300 when first starting.
b. In the subsequent starting, no need to perform manual calibration.
c. Suggestion: it’s best to perform manual calibration once a week or when NH300 measured data is not accurate.
4. How to replace NH310 measuring aperture?
There are three measuring apertures for NH310: Φ8mm (standard accessory), Φ4mm (standard accessory), extended Φ8mm (optional accessory)
a. Turning on
b. Removing measuring aperture, install the needed measuring aperture.
c. Select “Settings-Aperture Setting” in main menu to select corresponding measuring aperture.
d. After selecting aperture, the instrument will display “White and Black Calibration” interface. White and black calibration must be performed.
e. Replace completed.
5. CQCS3 (Color Quality Control System) Installation
a. Before installation, please Copy CQCS3 folder to your computer and don’t remove any files in CQCS3 folder.
b. Double-click the setup.exe to install CQCS3 software.
c. Then double-click Install.bat under the CQCS3\USB_Driver file to install the driver.
d. Detailed installation information please read the "Installing Software" under CQCS3 User manual.doc.
6. How to check communication port?
a. Connect colorimeter to the PC with USB cable.
b. Turn on the colorimeter to enter main menu. Select “Comm” and press “Enter” key to start communication.
c. Right click on “My Computer” on the desktop. Click “Manage” -> “Device Manager” -> “Ports”, you can see similar display as “SCI USB2Serial (COM6)”.
d. Click “Settings->Communication Parameters” in CQCS3 software interface. Select the corresponding port in “Serial Port”.
7. After completing CQCS3 installation, how to solve the problem if it display “! USB Device” or “! SCI USB2Serial (COM6)” when checking the communication port?
a. Right click “! USB Device” or “! SCI USB2Serial (COM6)”, “Update Driver” -> “Install from a list or specific location (Advanced)” -> “Next” ->“Include this location in the search” -> “Browse”, specify USB driver file path “CQCS3\USB_Driver”, click “Next”. Then it will install successfully.
b.Detailed installation information please refers to “2.2 Installing USB Driver” in Color Quality Management System User Manual.doc.
8. Notes for First Using CQCS3 Software
a. Users must specify Standard File Name, Sample File Name and Sample Database File Name when first use.
b.Standard File is use to store standard measurement data. Sample File is used to store sample measurement data. Sample Database File is used to store the measured data exported from sample records.
9. How to solve the problem when “Connection Timeout” occurred?
a. When the colorimeter is disconnected to the PC, “Connection Timeout” will occur. At the moment, you have to check whether the USB cable is well connected the colorimeter and the PC. Then you can re-plug the USB to try out.
b. After ensuring the colorimeter is connected to the PC with USB cable, turn on the colorimeter and enter the main menu. Select “Comm” and press “Enter” key to start communication.
c. Turn off CQCS3 software, and reopen it.
10. How to solve the problem when the interface display "USB Disconnect"
a. Check whether the USB cable is connected. If not, please connect it. Check whether the connection is effective. You can re-plug the USB cable to test.
b. If the USB cable is connected well but the interface still displays "USB Disconnect", please re-start the colorimeter and enter "Menu" -"Comm"to start the communication.
c. Change the USB cable or change the USB port in you PC.
11. How to solve the problem when the colorimeter cannot be turned on in the condition of battery-powered?
a. If this phenomenon occurred, it means the battery power is not enough. You need to charge the battery.
b. When charge the battery, please insert the battery to the instrument, and plug in the adapter to charge the battery. After 5 minutes, the instrument can be turned on.
c. If the instrument still cannot be turned on after charging 5 minutes, you can pull out the adapter and re-plug in to check it. Or repeat this operation.
d. If the instrument still cannot be turned on after charging 5 minutes, you can turn off the colorimeter and turn on it again to check it. Or repeat this operation.
e. If you have tried all the methods above but the colorimeter still cannot be turned on, please change the battery.
