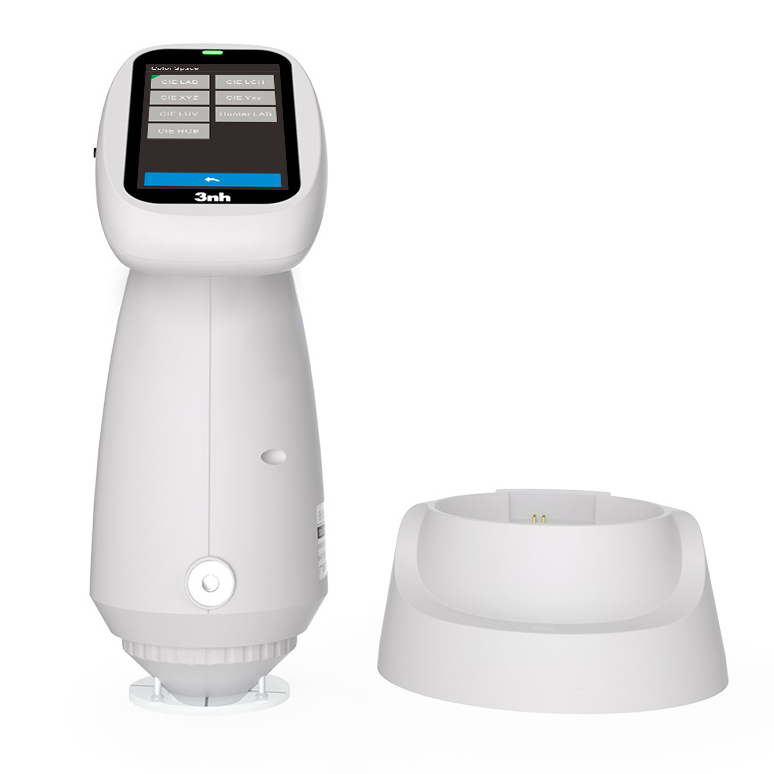
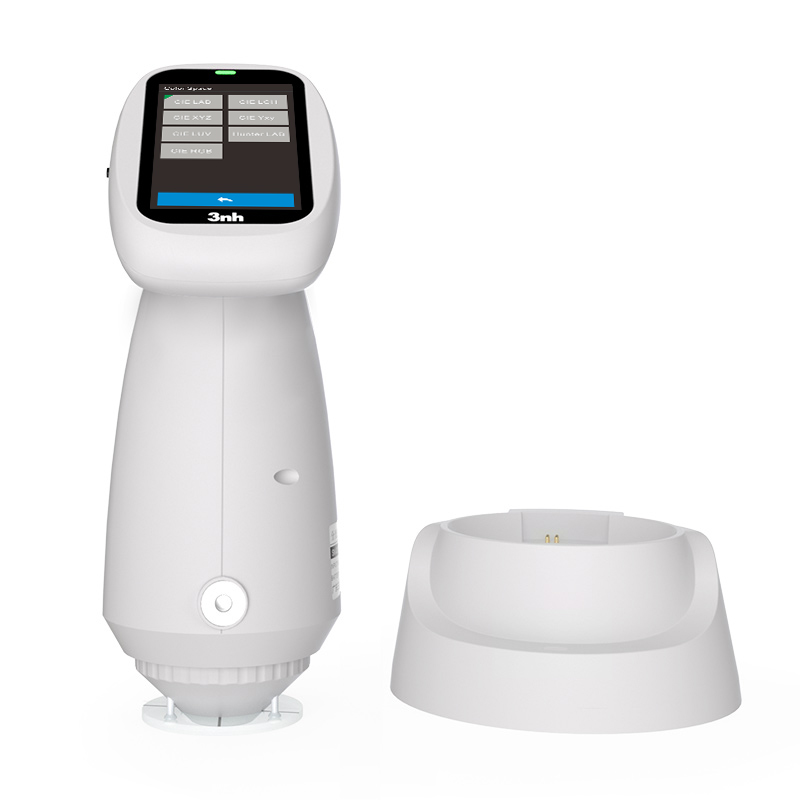
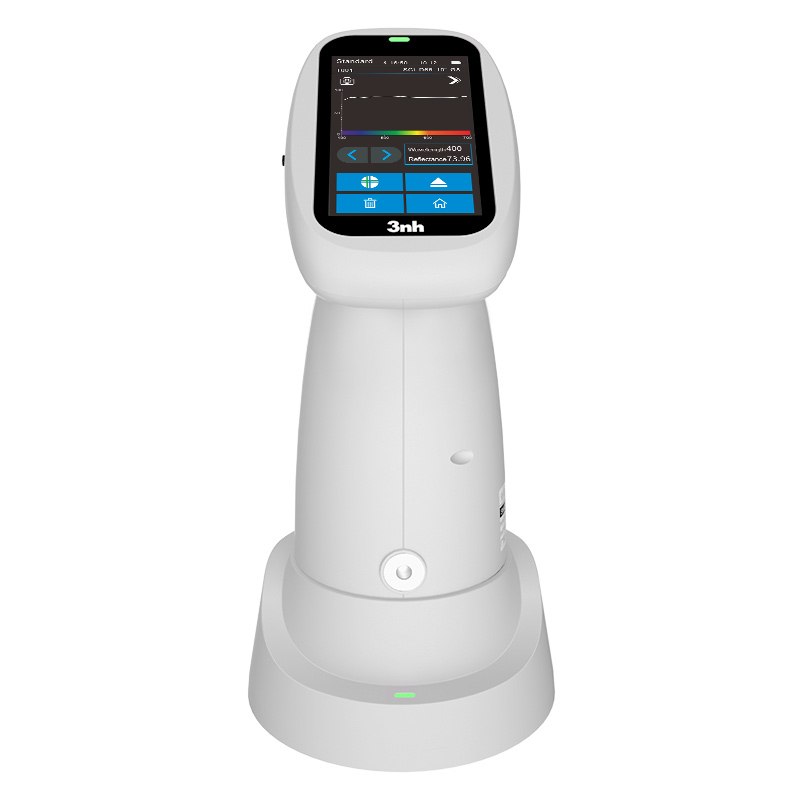
PS210 is a professional-grade model in the domestic PS series spectrophotometers. Adopting D/8 illumination viewing geometry and a dual-row 16-group silicon photodiode array sensor, it perfectly integrates the functions of a spectrophotometer and spectral colorimeter. The instrument features excellent repeatability and inter-instrument agreement, delivering stable and reliable measurement data. With a compact, streamlined, and ergonomic design, it offers a comfortable grip, combining aesthetics and practicality.
And it equipped with Φ4mm (flat + conical) measuring apertures, widely used for color quality control in plastics & electronics, paints & inks, textiles & garments, printing, ceramics, and other industries.
Product Features
Core Performance
D/8 Illumination Viewing Geometry: Adopts the internationally accepted D/8 structure with SCI (Specular Component Included) mode, complying with CIE No.15, GB/T 3978 and other international and domestic standards, ensuring authoritative and universal measurement results.
Dual Optical Path Design: Equipped with a dual row 16 group silicon photodiode array sensor and Φ40mm integrating sphere for more efficient and accurate color data processing.
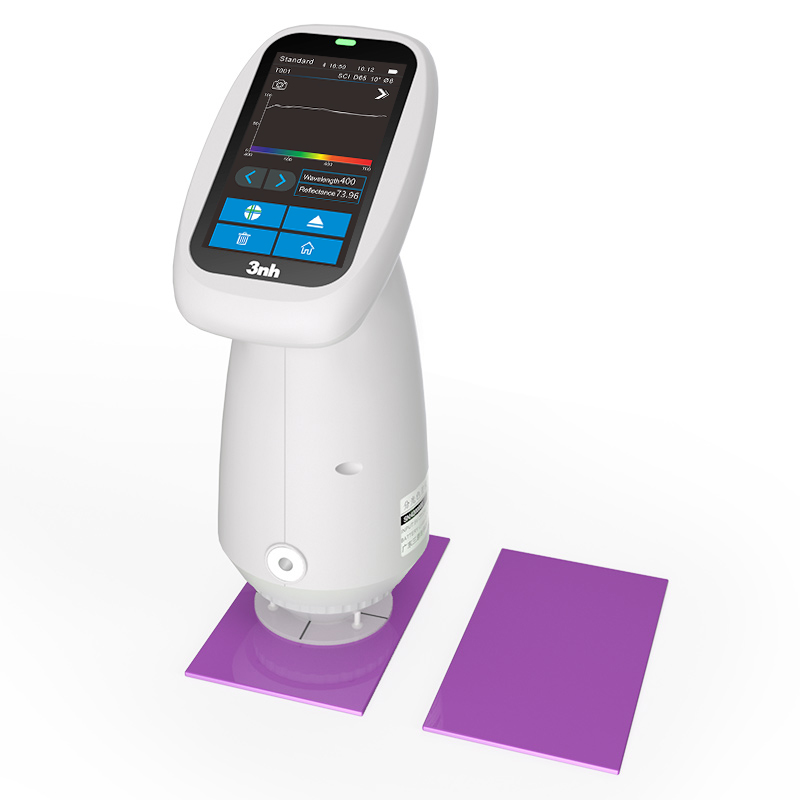
Full Spectrum Balanced LED Light Source: Captures spectra from 400-700 nm with sufficient spectral distribution in the visible range, avoiding spectral gaps typical of ordinary white LEDs and ensuring high measurement accuracy.

Repeatability: Chromaticity value standard deviation ΔE*ab ≤ 0.02, ensuring high consistency of measurement results.
Inter Instrument Agreement: ΔE*ab ≤ 0.35, providing excellent consistency among multiple instruments for multi device color management.

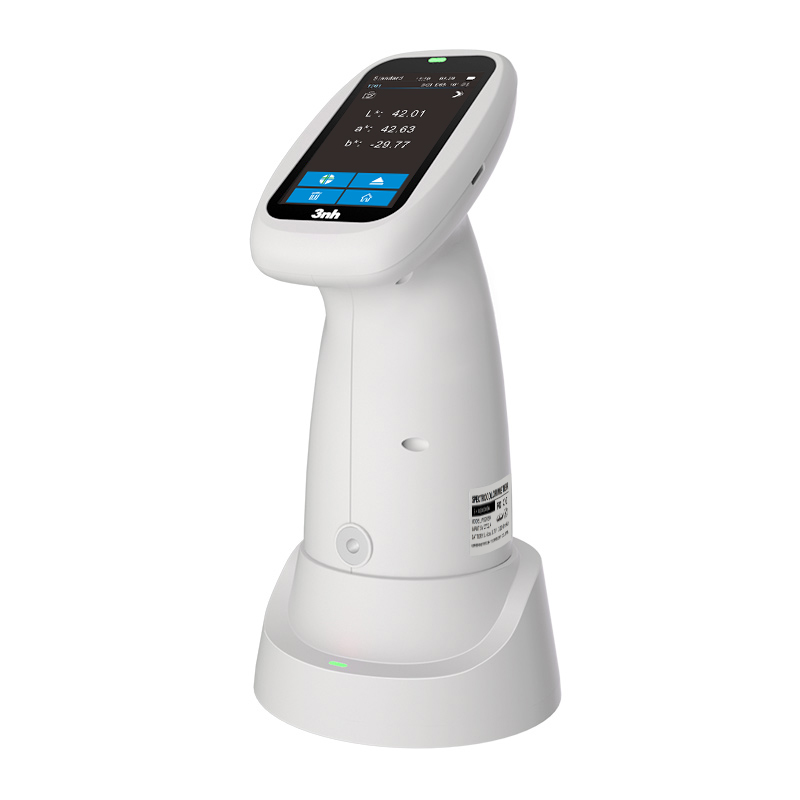
User Friendly Interface: 2.8 inch TFT true color capacitive touch screen, supporting one button measurement. The interface clearly displays spectral graphs, chromaticity values, color differences, pass/fail judgments, color simulation, and color tendency.
Multi Device Connectivity: USB and Bluetooth® 5.0 for connection with PCs and mobile phones (Android, iOS, HarmonyOS) and WeChat Mini Program (Color Matching Cloud). Professional quality control software enables real time data synchronization, report generation, and cloud storage (200 standards + 10,000 samples on APP/PC), supporting remote collaboration and mobile office.

Functional Highlights
Color Spaces & Formulas: Supports CIE LAB, XYZ, HunterLab and other color spaces; ΔEab, ΔEcmc, ΔE*00 and other mainstream color difference formulas. Measures spectral reflectance, whiteness index (WI), yellowness index (YI), metamerism index Mt, staining/color fastness, and other chromatic indexes. Advanced functions (Munsell, CMYK) are available via mobile APP.
Wide Illuminant Coverage: Built in 30+ standard illuminants including D65, A, C, D50 (some extended via mobile APP) to meet color evaluation under various lighting conditions.

Ergonomic Design: Smooth, stylish housing with comfortable grip, suitable for continuous inspection. Auto measurement sensing device ensures portability and ease of use.
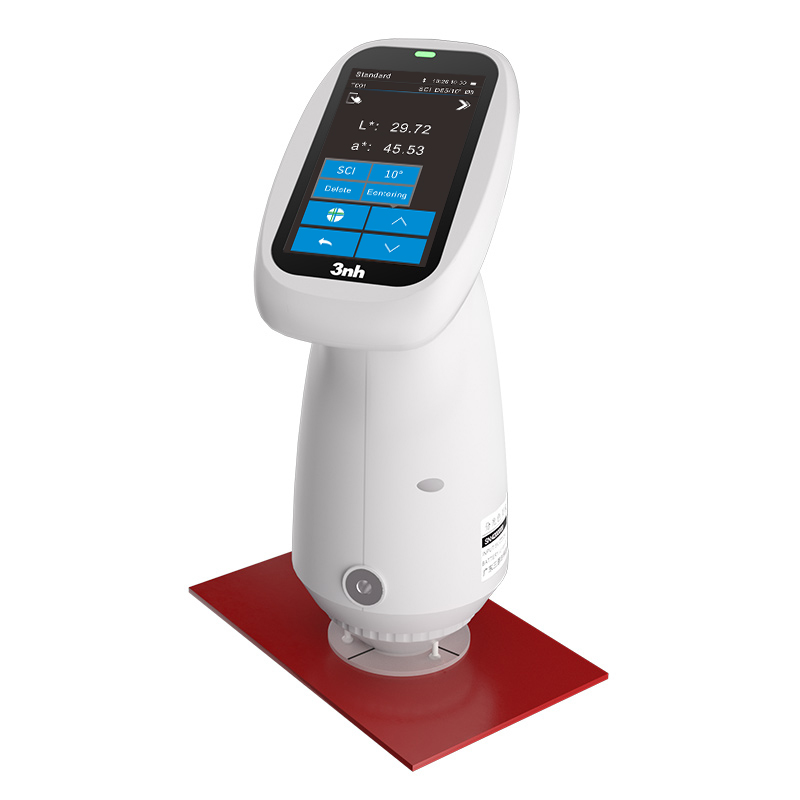
Flexible Apertures: Φ4mm/Φ5mm (flat + conical) apertures adapt to small or curved samples (e.g., electronic components, coated surfaces). Stable sheet positioning ensures accurate measurement placement.

Applications
PS210 is widely applied in color difference testing for plastics and electronics, color matching for paints and inks, fastness evaluation for textiles and dyeing, color consistency control for printing, and surface color analysis for ceramics.
Technical Specifications
Product Model | PS210 Spectrophotometer |
Illumination/Viewing | D/8 (Diffuse illumination, 8° viewing), SCI (Specular Component Included)Complies with CIE No.15, GB/T 3978, GB 2893, GB/T 18833, ISO 7724 1, ASTM E1164, DIN 5033 Teil7 |
Application | Color quality control for plastics & electronics, paints & inks, textiles & garments, printing, ceramics, etc. |
Light Source | Combined full spectrum LED |
Integrating Sphere | Φ40mm |
Spectral Module | Nano integrated spectral device |
Sensor | Dual row 16 group silicon photodiode array |
Wavelength Range | 400-700nm |
Measuring Apertures | Φ4mm / Φ5mm (flat + conical) |
Light Component | SCI |
Color Spaces | CIE LAB,XYZ,Yxy,LCh,CIE LUV,s-RGB,HunterLab,βxy,DIN Lab99 |
Color Difference Formulas | ΔE*ab,ΔE*uv,ΔE*94,ΔE*cmc(2:1),ΔE*cmc(1:1),ΔE*00, DINΔE99,ΔE(Hunter) |
Additional Chromatic Indexes | Spectral reflectance, WI (ASTM E313, CIE/ISO, AATCC, Hunter), YI (ASTM D1925, ASTM E313), Metamerism Index Mt, Color Fastness (Staining & Changing), Strength, Hiding Power, 555 Tone Classification, Munsell (C/2), CMYK (via APP) |
Observer | 2°/10° |
Illuminants | D65,A,C,D50,D55,D75, F1,F2(CWF),F3,F4,F5,F6, F7(DLF),F8,F9,F10(TPL5), F11(TL84),F12(TL83/U30), U35,NBF,ID50,ID65, LED-1,LED-2,LED-3,LED-4,LED-5 ,LED-6,LED-7,LED-8,LED-9,LED-10(partially via APP) |
Display | Spectrum graph/data, chromaticity value, color difference graph, Pass/Fail, color simulation, color tendency |
Measurement Time | About 1s |
Repeatability | Chromaticity: MAV/SCI, ΔE*ab ≤ 0.02 (after warm up & calibration, average of 30 measurements on white tile at 5s intervals)Spectral Reflectance: MAV/SCI, ≤ 0.08% (≤ 0.18% within 400-700 nm) |
Inter Instrument Agreement | MAV/SCI, ΔE*ab ≤ 0.35 (average on 12 BCRA Series II tiles) |
Display Resolution | 0.01 |
Reflectance Range | 0-200% |
Reflectance Resolution | 0.01% |
Measurement Mode | Single measurement, average measurement (2-99 times) |
Positioning | Stable sheet positioning |
Calibration | Contact white calibration |
Dimensions | 94(L)×68(W)×188(H) mm (excluding calibration base) |
Weight | 410 g (excluding calibration base) |
Battery | Li ion 3.7V 3200mAh, up to 8000 measurements in 8 hours |
Light Source Life | 10 years or > 1,200,000 measurements |
Screen | 2.8 inch TFT true color capacitive touch screen |
Interface | USB, Bluetooth® 5.0 |
Data Storage | 200 standards, 10,000 samples (SCI/SCE supported); unlimited via APP/PC |
Software Support | Android, iOS, Windows, WeChat Mini Program, HarmonyOS |
Language | Simplified Chinese, English, Traditional Chinese |
Operating Environment | Operating Environment |
Storage Environment | -20-50°C, 0-85%RH (non condensing) |
Standard Accessories | Power adapter, data cable, user manual, QC software (downloadable), white calibration box, protective cover, wrist strap, measuring apertures |
Optional Accessories | Mini printer, powder test kit |
Note | Specifications are for reference only; subject to the actual product |
1. When I received NH310/NH300 colorimeter and perform measurement, why the measured data is abnormal?
After receiving NH310/NH300, you have to perform white and black calibration manually when first starting.
2. In which condition, manual white and black calibration and auto calibration are required for NH310?
a. It’s needed to perform manual calibration for NH310 when first starting.
b. In the subsequent starting, NH310 will perform auto calibration at startup. No need to perform manual calibration.
c. Suggestion: it’s best to perform manual calibration once a week or when NH310 measured data is not accurate.
3. In which condition, manual white and black calibration for NH300 is required?
a. It’s needed to perform manual calibration for NH300 when first starting.
b. In the subsequent starting, no need to perform manual calibration.
c. Suggestion: it’s best to perform manual calibration once a week or when NH300 measured data is not accurate.
4. How to replace NH310 measuring aperture?
There are three measuring apertures for NH310: Φ8mm (standard accessory), Φ4mm (standard accessory), extended Φ8mm (optional accessory)
a. Turning on
b. Removing measuring aperture, install the needed measuring aperture.
c. Select “Settings-Aperture Setting” in main menu to select corresponding measuring aperture.
d. After selecting aperture, the instrument will display “White and Black Calibration” interface. White and black calibration must be performed.
e. Replace completed.
5. CQCS3 (Color Quality Control System) Installation
a. Before installation, please Copy CQCS3 folder to your computer and don’t remove any files in CQCS3 folder.
b. Double-click the setup.exe to install CQCS3 software.
c. Then double-click Install.bat under the CQCS3\USB_Driver file to install the driver.
d. Detailed installation information please read the "Installing Software" under CQCS3 User manual.doc.
6. How to check communication port?
a. Connect colorimeter to the PC with USB cable.
b. Turn on the colorimeter to enter main menu. Select “Comm” and press “Enter” key to start communication.
c. Right click on “My Computer” on the desktop. Click “Manage” -> “Device Manager” -> “Ports”, you can see similar display as “SCI USB2Serial (COM6)”.
d. Click “Settings->Communication Parameters” in CQCS3 software interface. Select the corresponding port in “Serial Port”.
7. After completing CQCS3 installation, how to solve the problem if it display “! USB Device” or “! SCI USB2Serial (COM6)” when checking the communication port?
a. Right click “! USB Device” or “! SCI USB2Serial (COM6)”, “Update Driver” -> “Install from a list or specific location (Advanced)” -> “Next” ->“Include this location in the search” -> “Browse”, specify USB driver file path “CQCS3\USB_Driver”, click “Next”. Then it will install successfully.
b.Detailed installation information please refers to “2.2 Installing USB Driver” in Color Quality Management System User Manual.doc.
8. Notes for First Using CQCS3 Software
a. Users must specify Standard File Name, Sample File Name and Sample Database File Name when first use.
b.Standard File is use to store standard measurement data. Sample File is used to store sample measurement data. Sample Database File is used to store the measured data exported from sample records.
9. How to solve the problem when “Connection Timeout” occurred?
a. When the colorimeter is disconnected to the PC, “Connection Timeout” will occur. At the moment, you have to check whether the USB cable is well connected the colorimeter and the PC. Then you can re-plug the USB to try out.
b. After ensuring the colorimeter is connected to the PC with USB cable, turn on the colorimeter and enter the main menu. Select “Comm” and press “Enter” key to start communication.
c. Turn off CQCS3 software, and reopen it.
10. How to solve the problem when the interface display "USB Disconnect"
a. Check whether the USB cable is connected. If not, please connect it. Check whether the connection is effective. You can re-plug the USB cable to test.
b. If the USB cable is connected well but the interface still displays "USB Disconnect", please re-start the colorimeter and enter "Menu" -"Comm"to start the communication.
c. Change the USB cable or change the USB port in you PC.
11. How to solve the problem when the colorimeter cannot be turned on in the condition of battery-powered?
a. If this phenomenon occurred, it means the battery power is not enough. You need to charge the battery.
b. When charge the battery, please insert the battery to the instrument, and plug in the adapter to charge the battery. After 5 minutes, the instrument can be turned on.
c. If the instrument still cannot be turned on after charging 5 minutes, you can pull out the adapter and re-plug in to check it. Or repeat this operation.
d. If the instrument still cannot be turned on after charging 5 minutes, you can turn off the colorimeter and turn on it again to check it. Or repeat this operation.
e. If you have tried all the methods above but the colorimeter still cannot be turned on, please change the battery.
