
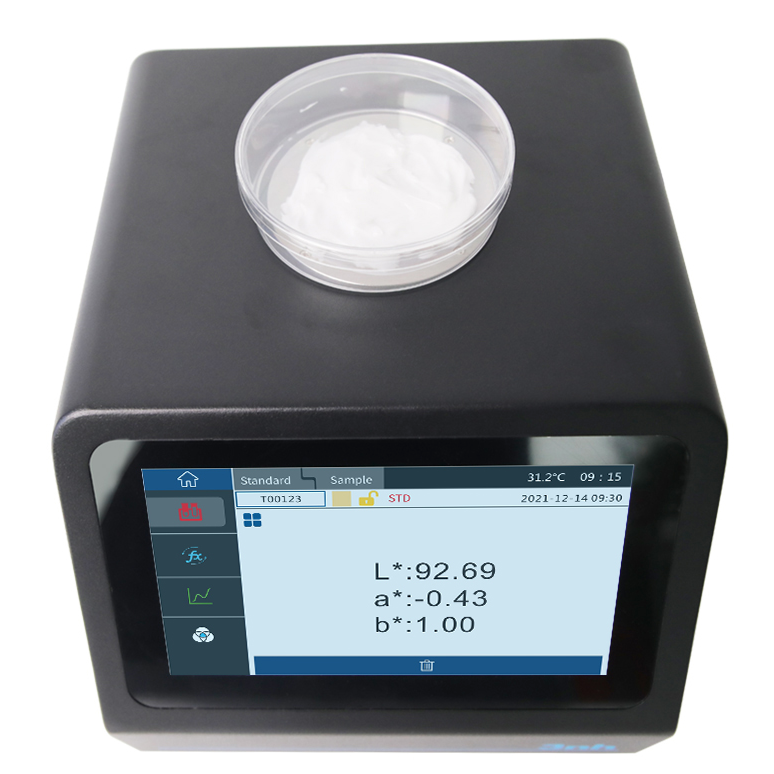
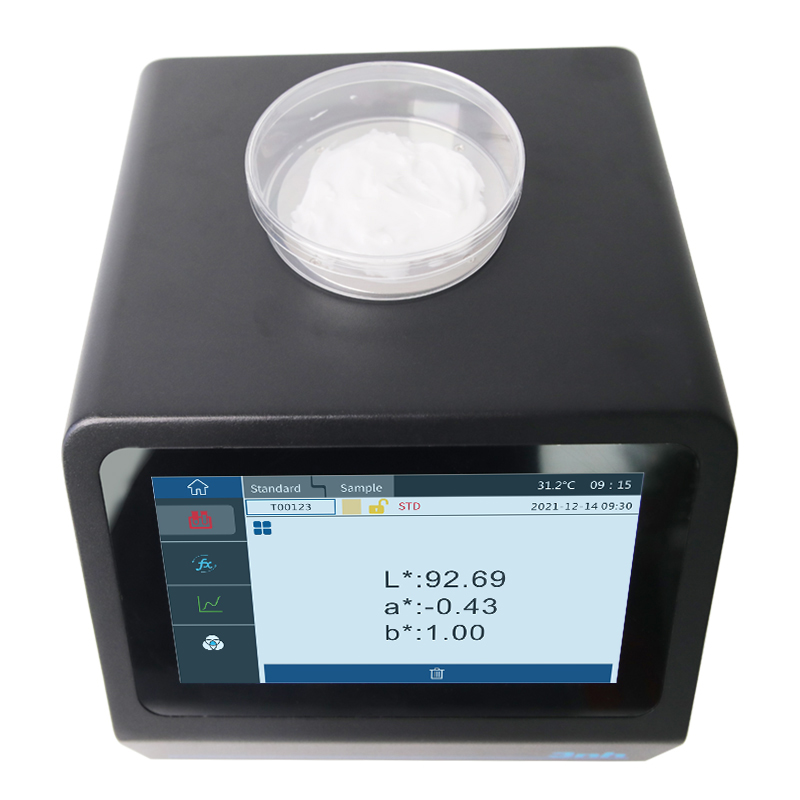
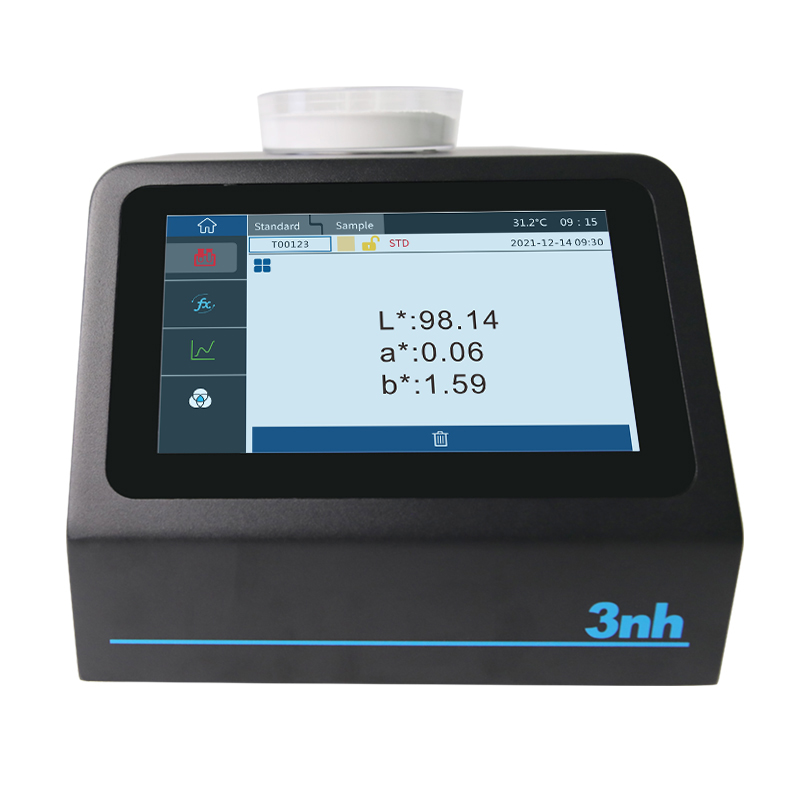
1. Special Large Aperture Design: The 50 mm measurement aperture is suitable for non-uniform samples such as granules, powders, and textured materials.
2. Full Industry Color Indices Support: whiteness (WI, supporting ASTM E313, CIE/ISO, R457, AATCC, Hunter, Taube, Berger, Stensby), yellowness (YI, supporting ASTM D1925, ASTM 313), tint (supporting CIE/ISO, ASTM E313-20), metamerism index MI, staining fastness, color change fastness, strength, hiding power, color density CMYK.
3. Compliance with International Standards: Strictly follows CIE No.15, GB/T 3978, ISO 7724-1, ASTM E1164.
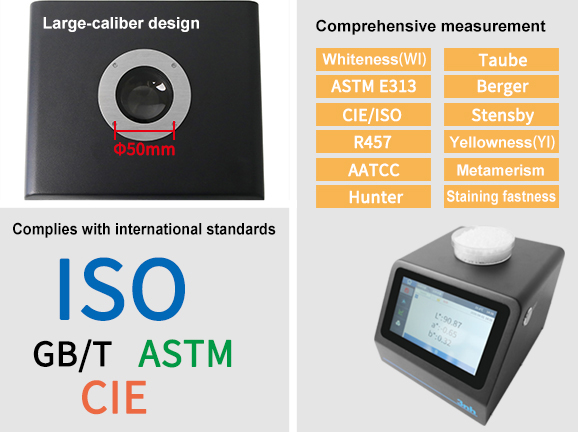
1. High Repeatability: Color value repeatability ΔE*ab ≤ 0.03; spectral reflectance standard deviation ≤ 0.1% (≤ 0.2% in 400-700 nm band).
2. Inter-Instrument Agreement: ΔE*ab ≤ 0.35 (average of measurements on 12 BCRA Series II color tiles).
3. Full-Band Accurate Acquisition: 400-700 nm, wavelength interval 10 nm, half-bandwidth 10 nm, reflectance range 0-200%.
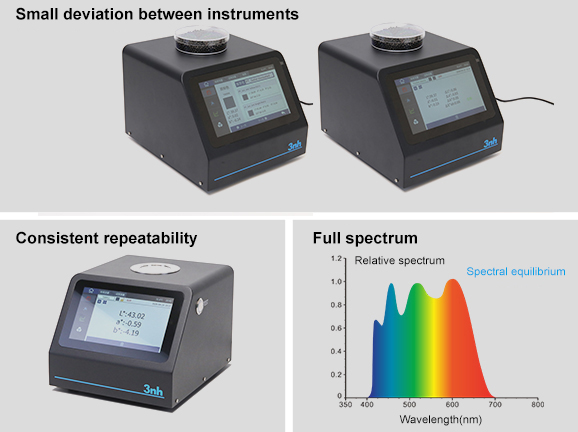
1. Standard 45/0 Optical Geometry: 45° annular uniform illumination and 0° reception.
2. Advanced Spectrophotometric Technology: Nano-integrated spectral device combined with a dual-array silicon photodiode array. Measurement time only about 1 second.
3. Rich Light Source Options: Built-in over 40 standard observation light sources (D65, A, C, F-series, etc.), supporting 2°/10° observer angles.
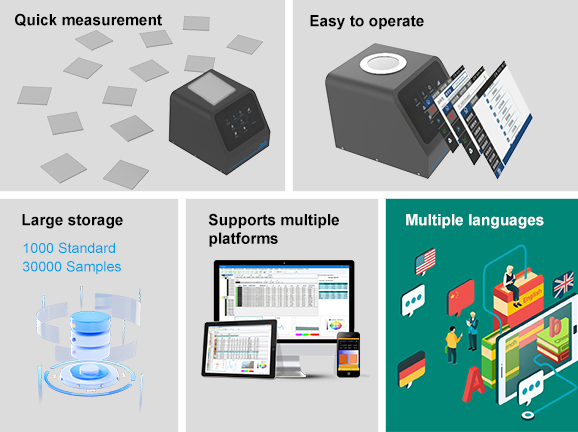
1. Fast Measurement: Single measurement takes only about 1 second. Supports single measurement and average measurement modes (2-99 times).
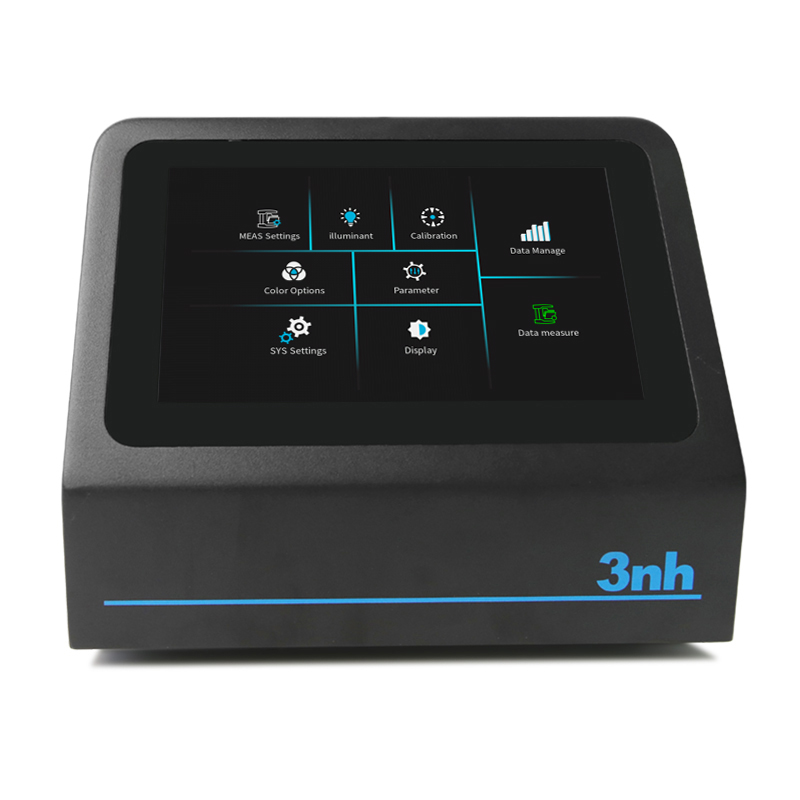
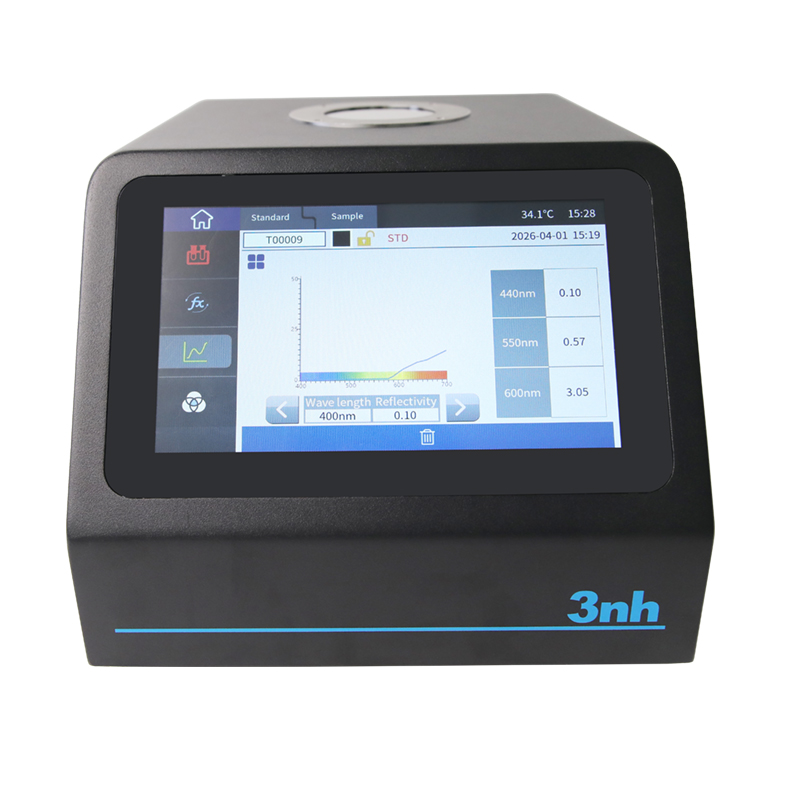
2. Intuitive Visual Operation: 7-inch true-color capacitive touchscreen.
3. Large Storage Capacity: Stores up to 1,000 master sample data and 30,000 test sample data.
4. Cross-Platform Software Compatibility: Professional quality management software (download from official website).
5. Multi-Language Support: Simplified Chinese, English, Traditional Chinese, Russian.
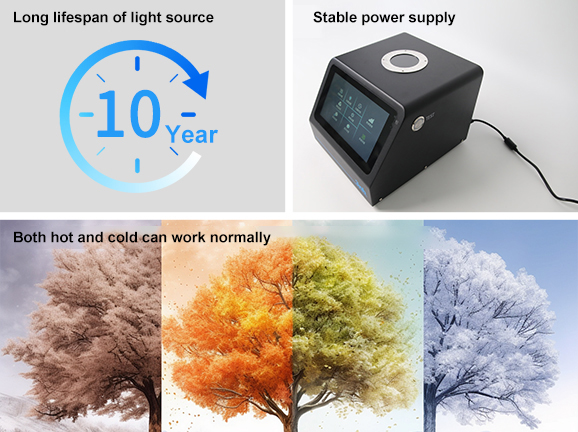
1. Long-Life Light Source: Combined LED light source with service life up to 10 years or >2 million measurements.
2. Broad Environmental Adaptability: Operating temperature range 0-40℃, 0-85%RH (non-condensing), altitude below 2000 m. Storage temperature range -20-50℃.
3. Stable Power Supply: 24 V DC, 3 A power adapter.
Product Model | PS808 |
Product Name | Particle Spectrophotometer |
Optical Geometry | 45/0 (45° annular uniform illumination, 0° reception); |
Features | The Particle Spectrophotometer utilizes a 45/0 optical geometry and is equipped with a 50 mm large measurement aperture, complying with ASTM D6290-19 and other particle color test methods. The instrument provides a wide measurement area and highly representative data, making it ideal for color measurement of granular samples. |
Light Source | Combined LED light source |
Integrating Sphere Size | / |
Specular Component | / |
Spectrophotometric Method | Nano-integrated spectral device |
Sensor | Silicon photodiode array (dual-array, 20 groups) |
Measurement Wavelength Range | 400-700 nm |
Wavelength Interval | 10 nm |
Half-Bandwidth | 10 nm |
Reflectance Measurement Range | 0-200% |
Measurement Aperture | 50 mm |
Observation Light Sources | D65,A,C,D50,D55,D75, F1,F2,F3,F4,F5,F6, F7,F8,F9,F10,F11,F12,CWF,DLF,TL83,TL84,TPL5,U30,B,U35,NBF,ID50,ID65,LED-B1,LED-B2,LED-B3,LED-B4,LED-B5,LED-BH1,LED-RGB1,LED-V1,LED-V2,LED-C2,LED-C3,LED-C5 |
Observer Angle | 2°/10° |
Color Spaces | CIE LAB, XYZ, Yxy, LCh, CIE LUV, s-RGB, HunterLab, βxy, DIN Lab99, Munsell (C/2) |
Color Difference Formulas | ΔE*ab, ΔE*uv, ΔE*94, ΔE*cmc(2:1), ΔE*cmc(1:1), ΔE*00, DINΔE99, ΔE(Hunter) |
Other Chromaticity Indices | Spectral reflectance, WI (ASTM E313, CIE/ISO, R457, AATCC, Hunter, Taube, Berger, Stensby), YI (ASTM D1925, ASTM 313), Tint (CIE/ISO, ASTM E313-20), Metamerism Index MI, Staining fastness, Color change fastness, Strength, Hiding power, Color density CMYK |
Repeatability | Spectral reflectance: standard deviation ≤ 0.1% (400-700 nm: ≤ 0.2%); |
Inter-Instrument Agreement | ΔE*ab ≤ 0.35 (average of measurements on 12 BCRA Series II color tiles) |
Display | Spectral graph/data, sample colorimetric values, color difference values/graph, pass/fail results, color bias |
Measurement Time | Approx. 1 s |
Measurement Mode | Single measurement, average measurement (2-99 times) |
Dimensions | 210 x 245 x 188 mm |
Weight | 3.1 kg |
Power Supply | 24 V DC, 3 A power adapter |
Light Source Lifespan | 10 years or >2 million measurements |
Display Screen | TFT true-color 7-inch capacitive touchscreen |
Interface | USB, Bluetooth |
Storage | 1,000 standard samples, 30,000 test samples |
Language | Simplified Chinese, English, Traditional Chinese, Russian |
Operating Temperature Range | 0-40℃, 0-85%RH (non-condensing), altitude below 2000 m |
Storage Temperature Range | -20-50℃, 0-85%RH (non-condensing) |
Standard Accessories | Power adapter, data cable, user manual, quality management software (download from official website), white plate, Petri dishes x 2 |
Optional Accessories | Micro printer |
Note: | Technical specifications are for reference only. Subject to change without notice. |
1. When I received NH310/NH300 colorimeter and perform measurement, why the measured data is abnormal?
After receiving NH310/NH300, you have to perform white and black calibration manually when first starting.
2. In which condition, manual white and black calibration and auto calibration are required for NH310?
a. It’s needed to perform manual calibration for NH310 when first starting.
b. In the subsequent starting, NH310 will perform auto calibration at startup. No need to perform manual calibration.
c. Suggestion: it’s best to perform manual calibration once a week or when NH310 measured data is not accurate.
3. In which condition, manual white and black calibration for NH300 is required?
a. It’s needed to perform manual calibration for NH300 when first starting.
b. In the subsequent starting, no need to perform manual calibration.
c. Suggestion: it’s best to perform manual calibration once a week or when NH300 measured data is not accurate.
4. How to replace NH310 measuring aperture?
There are three measuring apertures for NH310: Φ8mm (standard accessory), Φ4mm (standard accessory), extended Φ8mm (optional accessory)
a. Turning on
b. Removing measuring aperture, install the needed measuring aperture.
c. Select “Settings-Aperture Setting” in main menu to select corresponding measuring aperture.
d. After selecting aperture, the instrument will display “White and Black Calibration” interface. White and black calibration must be performed.
e. Replace completed.
5. CQCS3 (Color Quality Control System) Installation
a. Before installation, please Copy CQCS3 folder to your computer and don’t remove any files in CQCS3 folder.
b. Double-click the setup.exe to install CQCS3 software.
c. Then double-click Install.bat under the CQCS3\USB_Driver file to install the driver.
d. Detailed installation information please read the "Installing Software" under CQCS3 User manual.doc.
6. How to check communication port?
a. Connect colorimeter to the PC with USB cable.
b. Turn on the colorimeter to enter main menu. Select “Comm” and press “Enter” key to start communication.
c. Right click on “My Computer” on the desktop. Click “Manage” -> “Device Manager” -> “Ports”, you can see similar display as “SCI USB2Serial (COM6)”.
d. Click “Settings->Communication Parameters” in CQCS3 software interface. Select the corresponding port in “Serial Port”.
7. After completing CQCS3 installation, how to solve the problem if it display “! USB Device” or “! SCI USB2Serial (COM6)” when checking the communication port?
a. Right click “! USB Device” or “! SCI USB2Serial (COM6)”, “Update Driver” -> “Install from a list or specific location (Advanced)” -> “Next” ->“Include this location in the search” -> “Browse”, specify USB driver file path “CQCS3\USB_Driver”, click “Next”. Then it will install successfully.
b.Detailed installation information please refers to “2.2 Installing USB Driver” in Color Quality Management System User Manual.doc.
8. Notes for First Using CQCS3 Software
a. Users must specify Standard File Name, Sample File Name and Sample Database File Name when first use.
b.Standard File is use to store standard measurement data. Sample File is used to store sample measurement data. Sample Database File is used to store the measured data exported from sample records.
9. How to solve the problem when “Connection Timeout” occurred?
a. When the colorimeter is disconnected to the PC, “Connection Timeout” will occur. At the moment, you have to check whether the USB cable is well connected the colorimeter and the PC. Then you can re-plug the USB to try out.
b. After ensuring the colorimeter is connected to the PC with USB cable, turn on the colorimeter and enter the main menu. Select “Comm” and press “Enter” key to start communication.
c. Turn off CQCS3 software, and reopen it.
10. How to solve the problem when the interface display "USB Disconnect"
a. Check whether the USB cable is connected. If not, please connect it. Check whether the connection is effective. You can re-plug the USB cable to test.
b. If the USB cable is connected well but the interface still displays "USB Disconnect", please re-start the colorimeter and enter "Menu" -"Comm"to start the communication.
c. Change the USB cable or change the USB port in you PC.
11. How to solve the problem when the colorimeter cannot be turned on in the condition of battery-powered?
a. If this phenomenon occurred, it means the battery power is not enough. You need to charge the battery.
b. When charge the battery, please insert the battery to the instrument, and plug in the adapter to charge the battery. After 5 minutes, the instrument can be turned on.
c. If the instrument still cannot be turned on after charging 5 minutes, you can pull out the adapter and re-plug in to check it. Or repeat this operation.
d. If the instrument still cannot be turned on after charging 5 minutes, you can turn off the colorimeter and turn on it again to check it. Or repeat this operation.
e. If you have tried all the methods above but the colorimeter still cannot be turned on, please change the battery.
