
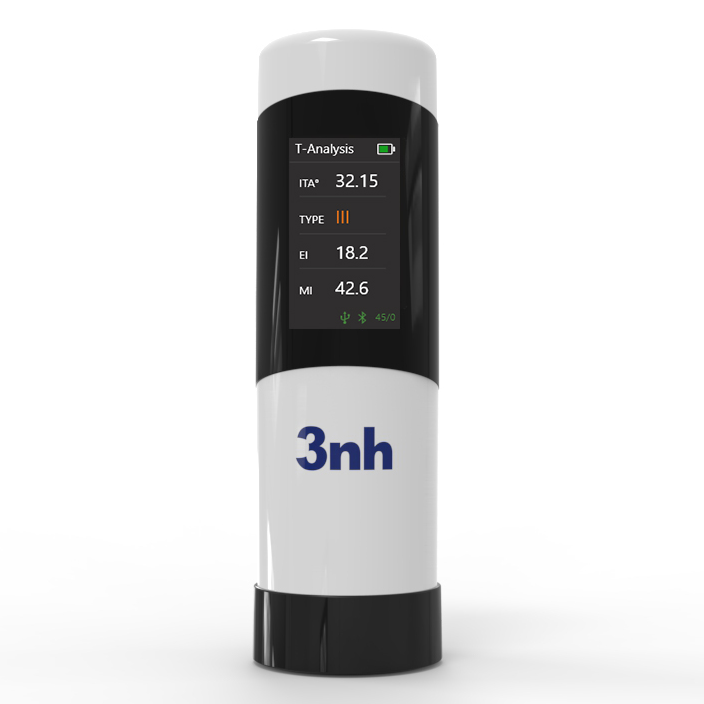
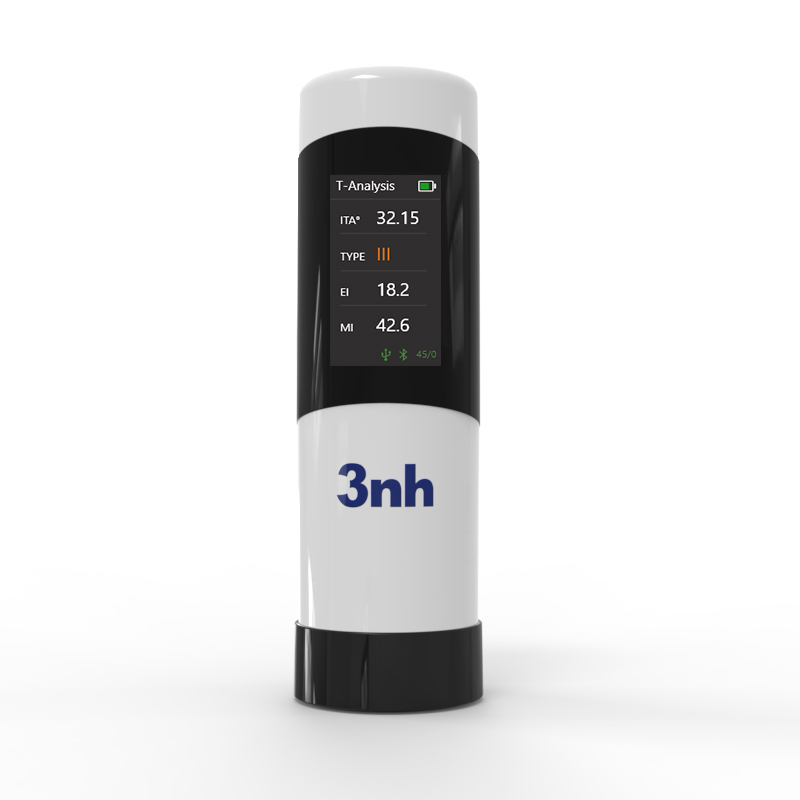
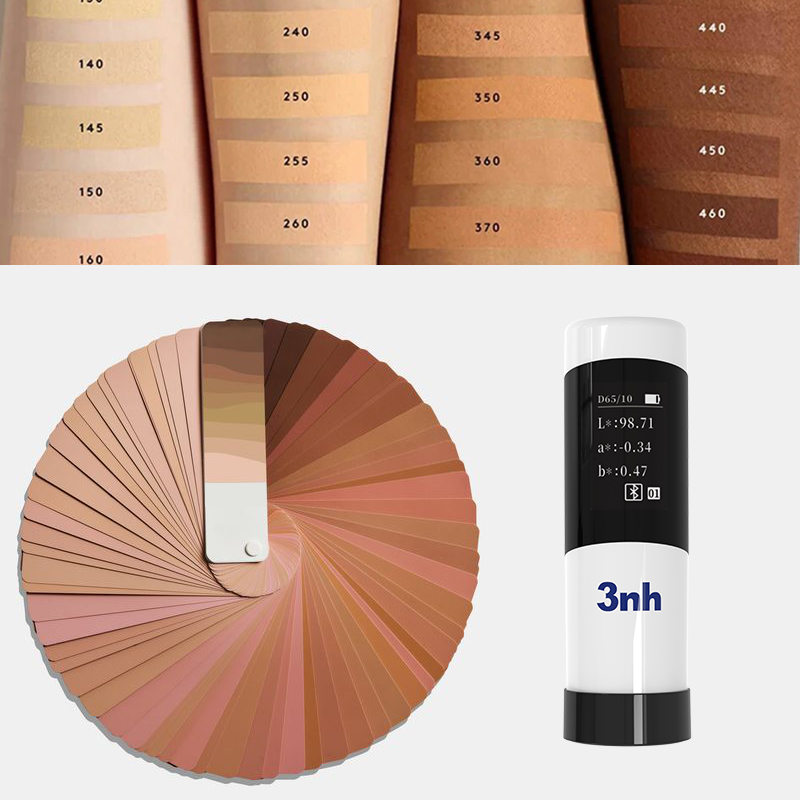
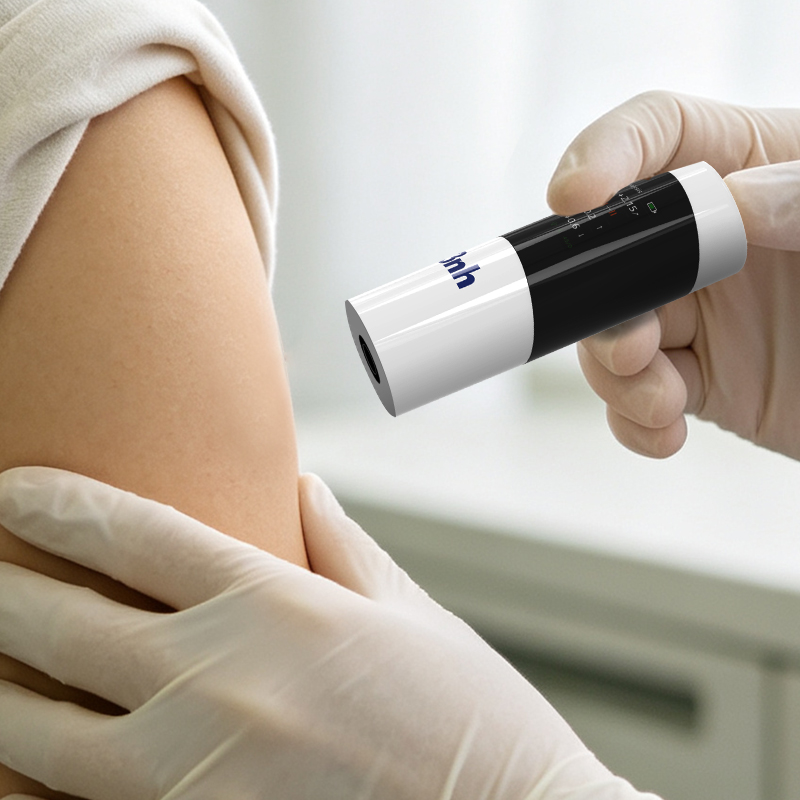
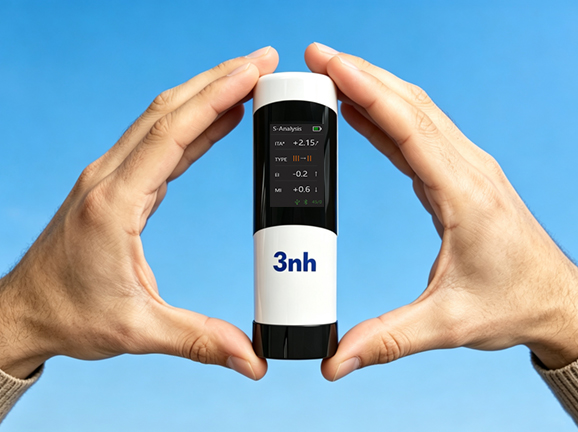
The 3nh PS01 is an entry-level, ultra-portable Skin ColorReader designed for quick skin tone reference, rapid colorimetric evaluation, and cost-effective batch deployment across chain stores and small-to-medium skincare studios. Utilizing a 45/0 circumferential uniform illumination optical system paired with nanometer integrated spectroscopic components, it packs core professional indicators into an ultra-compact body weighing just 88g. The primary advantage of the PS01 is offering quantized skin color data at an accessible price point. By sharing identical core algorithmic indicators—Individual Typology Angle (ITA°), Melanin Index (MI), and Erythema Index (EI)—with higher-end models, PS01 replaces visual estimation with objective metrics, facilitating brand-wide standardized skin analysis.
Outputs ITA° (Individual Typology Angle), skin typology classification, Melanin Index (MI), and Erythema Index (EI). Core analytical metrics align with high-end models for reliable daily skin assessment.
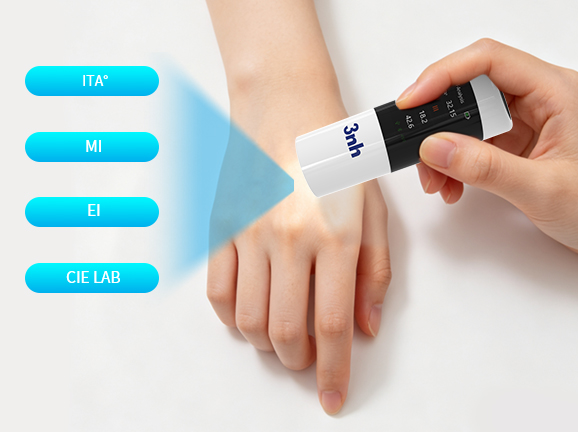
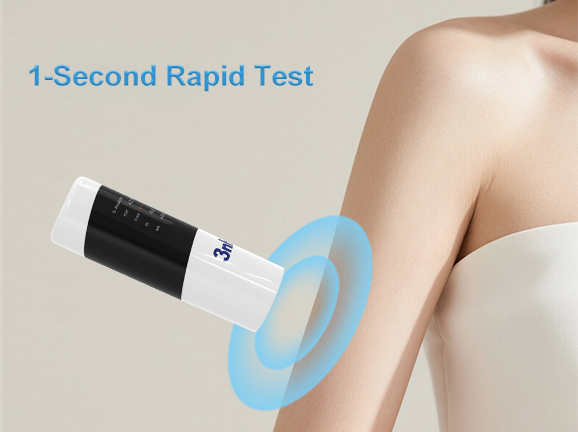
Requires only 1.0 second per test, minimizing client waiting time and optimizing workflow efficiency during peak store hours.
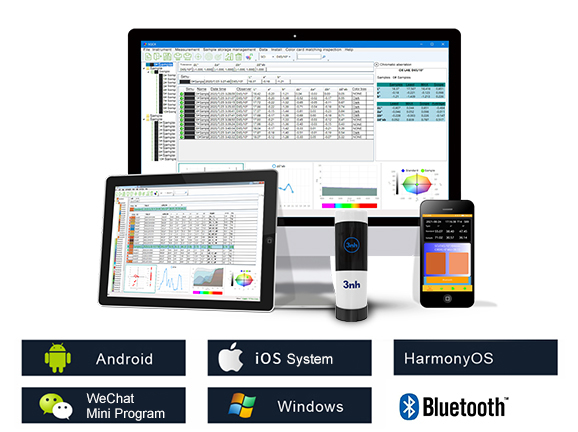
Compatible with Android, iOS, Windows, WeChat Mini-Programs, and HarmonyOS. Features automatic white-board calibration and average measurement mode (2–99 tests) to minimize accidental operator errors.
Budget-friendly pricing allows franchise brands and multi-store chains to deploy dedicated skin detection equipment across all branches, building unified service standards.
Skincare Studios & Salons: Build customer skin archives and quantify pre/post treatment results at a low operational cost.
Skincare Content Creators: Acquire multi-dimensional skin data to bolster review credibility.
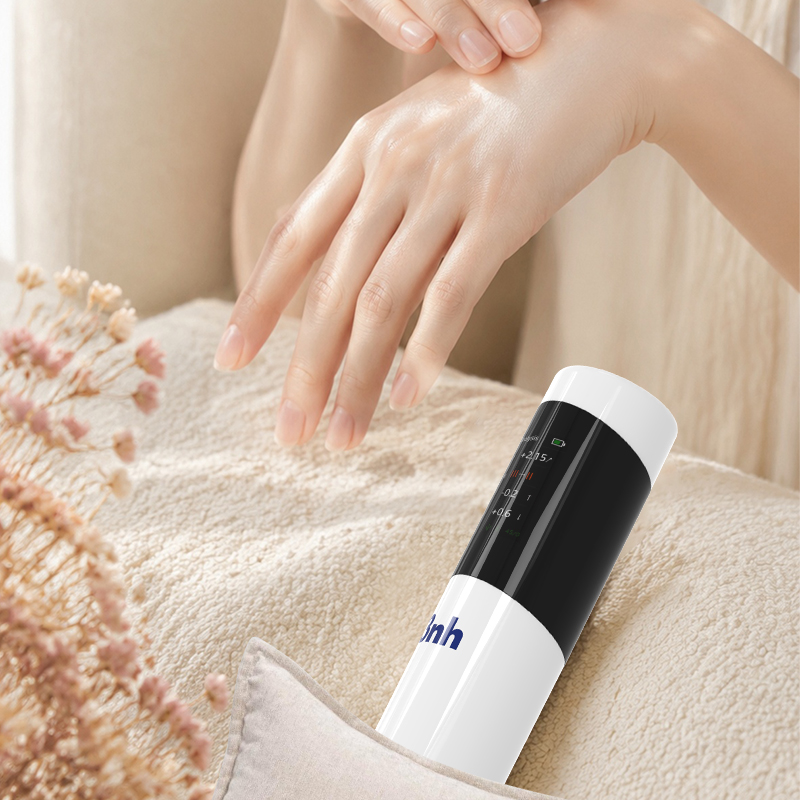
Beauty Consultants & Sales: Ultra-portable design for instant skin measurements during customer consultations.
Efficacy Testing: Track subtle skin tone shifts to verify cosmetic formulation efficacy.

Model | PS01 Skin ColorReader |
Illumination Geometry | 45/0 (45° circumferential uniform illumination, 0° reception); Complies with CIE No.15, GB/T 3978, GB 2893, GB/T 18833, ISO7724-1, ASTM E1164, DIN5033 Teil7 |
Features | Portable skin color measurement; convenient assessment of Individual Typology Angle (ITA°), skin type, Melanin Index (MI), and Erythema Index (EI). Highly compact. |
Integrating Sphere Size | / |
Light Source | Full-spectrum LED light source |
Spectrophotometric Mode | Nanometer integrated spectroscopic components |
Sensor | Silicon photodiode array (dual-row 16 groups) |
Wavelength Range | 400–700 nm |
Measuring Aperture | Φ8 mm |
Specular Component | / |
Color Spaces | CIE LAB |
Color Difference Formulas | ΔE*ab |
Other Colorimetric Indices | ITA°, Skin Typology Angle, Erythema Index (EI), Melanin Index (MI) |
Display Resolution | 0.1 |
Observer Angle | 10° |
Illuminant | D65 |
Display Features | Sample colorimetric values, color difference, PASS/FAIL result, color simulation, color bias, reflectance (partially via mobile APP) |
Measurement Time | Approx. 1.0s |
Repeatability | Colorimetric value: ΔE*ab within 0.05 (Average of 30 measurements on white plate at 5s intervals after warm-up & calibration) |
Accuracy Guarantee | No requirement |
Measurement Method | Single measurement, Average measurement (2–99 times via mobile APP) |
Locating Method | / |
Dimensions | Ø32X100mm |
Weight | Approx. 88 g |
Battery Capacity | Lithium battery; up to 12,000 continuous measurements on a full charge |
Light Source Lifespan | 5 years or over 3 million measurements |
Display Screen | 1.14-inch IPS full-color screen |
Interfaces | USB, Bluetooth |
Data Storage | Expandable massive storage via mobile APP |
Software Support | Android, iOS, Windows, WeChat Mini-Program, HarmonyOS |
Calibration | Automatic Whiteboard Calibration |
Languages | Simplified Chinese, English |
Operating Environment | 0–40°C, 0–85% RH (non-condensing), Altitude: Below 2000m |
Storage Environment | -20–50°C, 0–85% RH (non-condensing) |
Standard Accessories | Data Cable, User Manual, Calibration Box, Quality Management Software (downloadable), APP (downloadable) |
Optional Accessories | USB Micro Printer, Powder Test Box |
Remarks | Technical specifications are for reference only and subject to actual sales products. |
1. When I received NH310/NH300 colorimeter and perform measurement, why the measured data is abnormal?
After receiving NH310/NH300, you have to perform white and black calibration manually when first starting.
2. In which condition, manual white and black calibration and auto calibration are required for NH310?
a. It’s needed to perform manual calibration for NH310 when first starting.
b. In the subsequent starting, NH310 will perform auto calibration at startup. No need to perform manual calibration.
c. Suggestion: it’s best to perform manual calibration once a week or when NH310 measured data is not accurate.
3. In which condition, manual white and black calibration for NH300 is required?
a. It’s needed to perform manual calibration for NH300 when first starting.
b. In the subsequent starting, no need to perform manual calibration.
c. Suggestion: it’s best to perform manual calibration once a week or when NH300 measured data is not accurate.
4. How to replace NH310 measuring aperture?
There are three measuring apertures for NH310: Φ8mm (standard accessory), Φ4mm (standard accessory), extended Φ8mm (optional accessory)
a. Turning on
b. Removing measuring aperture, install the needed measuring aperture.
c. Select “Settings-Aperture Setting” in main menu to select corresponding measuring aperture.
d. After selecting aperture, the instrument will display “White and Black Calibration” interface. White and black calibration must be performed.
e. Replace completed.
5. CQCS3 (Color Quality Control System) Installation
a. Before installation, please Copy CQCS3 folder to your computer and don’t remove any files in CQCS3 folder.
b. Double-click the setup.exe to install CQCS3 software.
c. Then double-click Install.bat under the CQCS3\USB_Driver file to install the driver.
d. Detailed installation information please read the "Installing Software" under CQCS3 User manual.doc.
6. How to check communication port?
a. Connect colorimeter to the PC with USB cable.
b. Turn on the colorimeter to enter main menu. Select “Comm” and press “Enter” key to start communication.
c. Right click on “My Computer” on the desktop. Click “Manage” -> “Device Manager” -> “Ports”, you can see similar display as “SCI USB2Serial (COM6)”.
d. Click “Settings->Communication Parameters” in CQCS3 software interface. Select the corresponding port in “Serial Port”.
7. After completing CQCS3 installation, how to solve the problem if it display “! USB Device” or “! SCI USB2Serial (COM6)” when checking the communication port?
a. Right click “! USB Device” or “! SCI USB2Serial (COM6)”, “Update Driver” -> “Install from a list or specific location (Advanced)” -> “Next” ->“Include this location in the search” -> “Browse”, specify USB driver file path “CQCS3\USB_Driver”, click “Next”. Then it will install successfully.
b.Detailed installation information please refers to “2.2 Installing USB Driver” in Color Quality Management System User Manual.doc.
8. Notes for First Using CQCS3 Software
a. Users must specify Standard File Name, Sample File Name and Sample Database File Name when first use.
b.Standard File is use to store standard measurement data. Sample File is used to store sample measurement data. Sample Database File is used to store the measured data exported from sample records.
9. How to solve the problem when “Connection Timeout” occurred?
a. When the colorimeter is disconnected to the PC, “Connection Timeout” will occur. At the moment, you have to check whether the USB cable is well connected the colorimeter and the PC. Then you can re-plug the USB to try out.
b. After ensuring the colorimeter is connected to the PC with USB cable, turn on the colorimeter and enter the main menu. Select “Comm” and press “Enter” key to start communication.
c. Turn off CQCS3 software, and reopen it.
10. How to solve the problem when the interface display "USB Disconnect"
a. Check whether the USB cable is connected. If not, please connect it. Check whether the connection is effective. You can re-plug the USB cable to test.
b. If the USB cable is connected well but the interface still displays "USB Disconnect", please re-start the colorimeter and enter "Menu" -"Comm"to start the communication.
c. Change the USB cable or change the USB port in you PC.
11. How to solve the problem when the colorimeter cannot be turned on in the condition of battery-powered?
a. If this phenomenon occurred, it means the battery power is not enough. You need to charge the battery.
b. When charge the battery, please insert the battery to the instrument, and plug in the adapter to charge the battery. After 5 minutes, the instrument can be turned on.
c. If the instrument still cannot be turned on after charging 5 minutes, you can pull out the adapter and re-plug in to check it. Or repeat this operation.
d. If the instrument still cannot be turned on after charging 5 minutes, you can turn off the colorimeter and turn on it again to check it. Or repeat this operation.
e. If you have tried all the methods above but the colorimeter still cannot be turned on, please change the battery.
